Showing posts with label Renovations. Show all posts

Tuesday, August 01, 2017

Cumaru Front Porch

Our front porch was in bad shape, so with the help of a friend, we replaced it with Cumaru hardwood decking.  


Monday, January 26, 2015

Mom's New Kitchen


Mom bought a new house last summer, and the kitchen was seriously outdated.  
So for Christmas, I along with a friend tore out the old cabinets and installed all new cherry cabinets and stainless steel appliances. She also had a quartz countertop installed.


All that remains is to finish painting, install the door panels on the upper cabinets and peninsula, install some under cabinet lighting under the corner cabinet, and a nice tile backsplash in the corner between the frig and stove.  
Here are the before pictures.


Tuesday, August 05, 2014

Bathroom mirror

We installed a double sink and vanity in our bathroom, so I needed to enlarge the existing bathroom mirror / medicine cabinet.  The old medicine cabinet was also in poor shape.

I mimicked the old mirror moldings, but I made it a split medicine cabinet, so we each could have our own shelves.  I bought the mirrors from a local shop and made the frame.  I added an outlet on the inside also.

Saturday, June 21, 2014

New back door with custom stained glass transom

Our old back door and door jamb looked like swiss cheese around the locks and leaked air all around.  The existing transom was rather plain also.  I replaced the door and jambs and installed a custom stained glass transom above the door.  


Tuesday, February 11, 2014

New Master Bedroom Closet doors

Our bedroom closets are 6' wide on the inside, but only have a 30" door.  


So we had the door opening widened to 4', and I installed two 24" doors.  Finding the same moulding was a pain, but we lucked out and found two salvaged 24" doors which match our house's style for $10 each from Rebuild Warehouse in Alexandria.  And oh yeah, the walls were far from square.  


Monday, November 25, 2013

Garage Exterior


Outside view of the garage.  Paver walkway on the side, and raised flower beds on the back.

Sunday, June 23, 2013

99% done

The outside is almost completely done.  I need to paint a few spots, and finish the raised flower bed on the right side.  I ran out of materials, unfortunately.  A rain barrel will be installed on the left side, along with flowers and herbs.  I will eventually install a ductless HVAC split unit in the garage, and the condenser will be on the right side, along with more flowers and herbs.  .

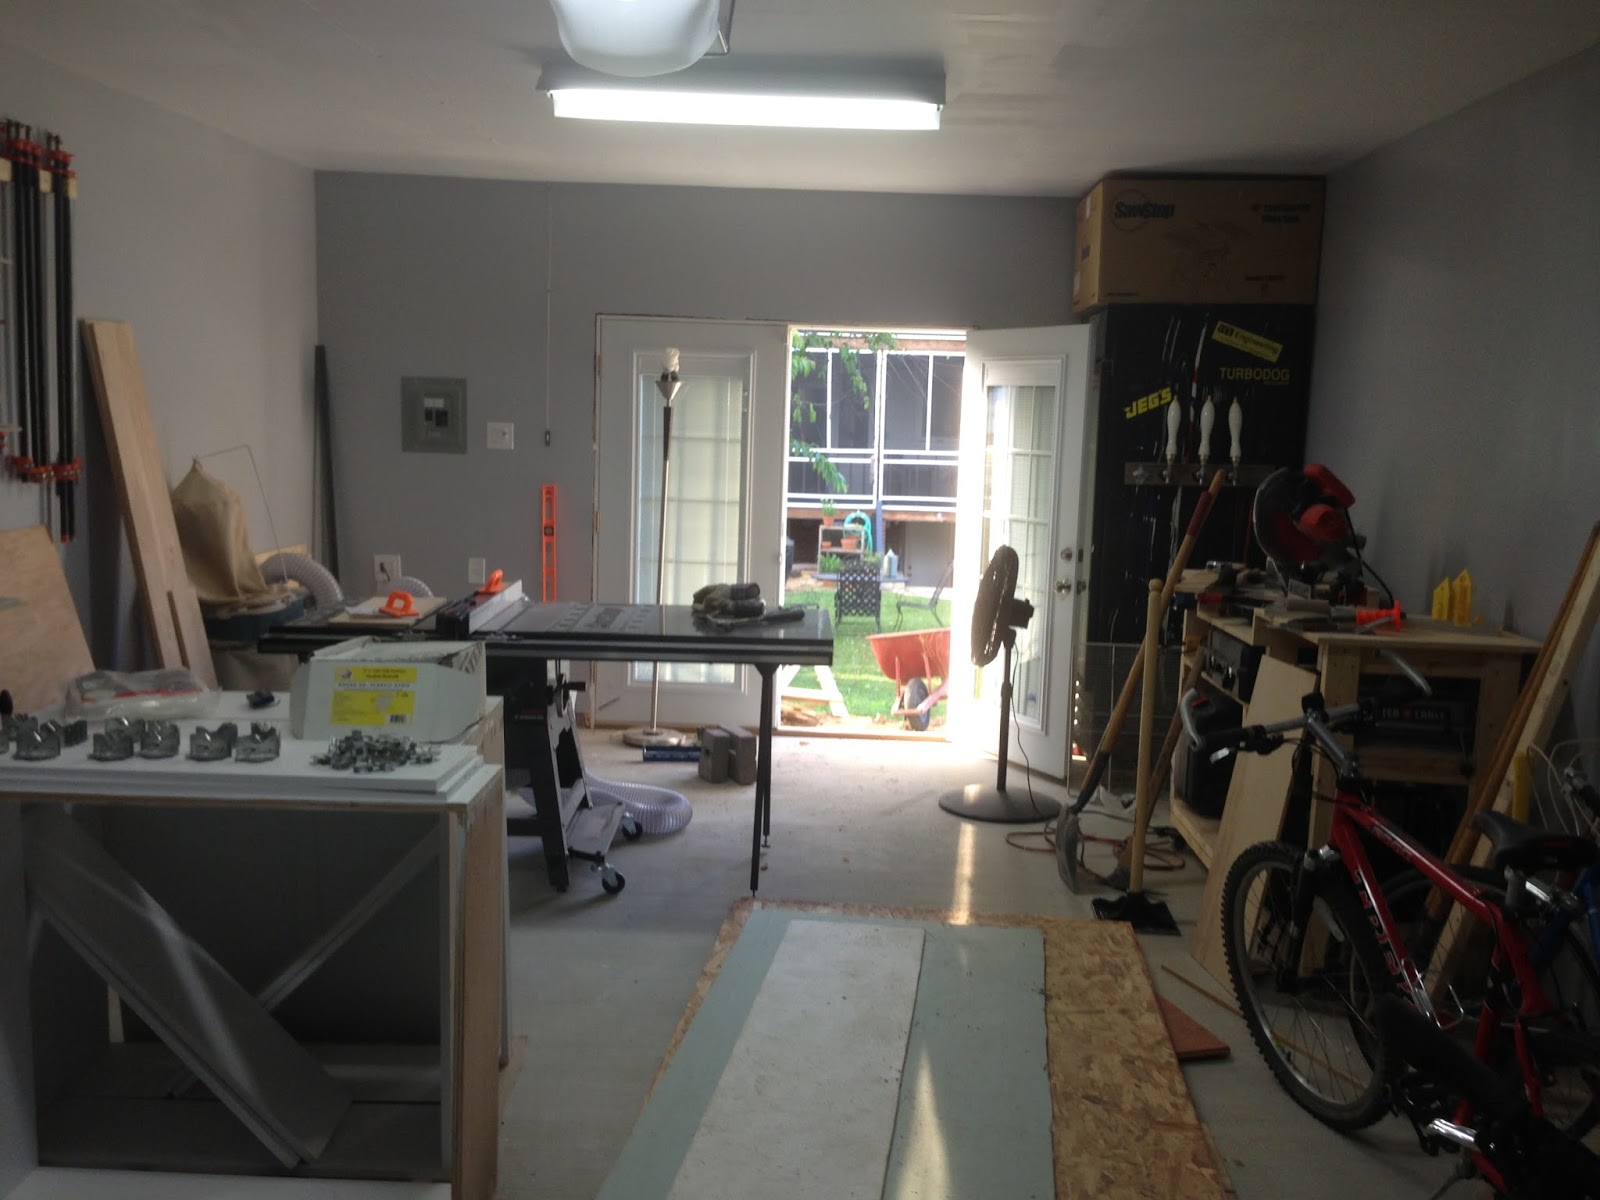
The inside is almost completely done also.  I just need to finalize the tool and bike storage, and also fix the kegerator.  I have ethernet and coax hookups in the garage, so I can watch or stream Norm and the guys from This Old House while I'm building furniture.  

Sunday, March 24, 2013

Drywall is up.

All of the drywall is up and the mud is drying. Just a quick sanding and it'll be ready for paint.

Friday, January 11, 2013

The exterior is just about complete.


The exterior is just about done.  Only the finishing touches are needed.  Now I get to start on the inside.


Sunday, November 18, 2012

Framing, sheathing, and plywood done.

I've done as much as I can on the outside.  I'm gonna hire out the roof, garage and french door installation, along with the siding.  I just want the exterior done, so I can start putting my tools on the inside.  

Sunday, November 11, 2012

The plywood roof is down and the sheathing is on.


The plywood roof is down and the sheathing is on the sides.  Tomorrow is adding the gable and dormer and wrapping it in tyvek.  

Sunday, October 21, 2012

Rafters and blocking done. OSB next.

All the rafter are up. The blocking is done. I'm ready to install the OSB for the walls and then the roof.

Sunday, October 14, 2012

Garage Rafters


We only need to put up 3 more rafters, and then the OSB can start going on.  

Saturday, October 13, 2012

Wall Framing up


Wall framing up.  Ceiling rafters and roofing next.  

Thursday, October 04, 2012

Wall Framing Done.

The rain this morning delayed my start, but I was able to finish framing all of the walls, along with the headers for the garage and french door.

Now I just need a couple of friends to help me raise the walls and put up the rafters.

Wednesday, October 03, 2012

Lumber has arrived!


All the wood arrived today, so I started framing. The hardest part was setting the sill plate and finding where to drill the holes for the already installed j-bolts.  I was able to finish framing one of the walls.  

Monday, September 24, 2012

Slab is complete - Framing is next week!


The slab is complete.  I can start framing next week, and start driving on it in about a month.  

Who wants to help me with the framing next weekend??

Friday, September 07, 2012

Garage Footer Excavation

The first picture is of the old slab, back from 2010.  There were a few large trees on the left and back of it that were popping up the concrete and pretty much making it unusable.  The old slab looked like it had some sort of structure on it at one point, but that was long gone by the time I moved in.  

The second picture is of the excavation for the footer for the new garage.  It took 2 days for excavation and to lay the rebar. The city inspector came out yesterday and gave us the go ahead to proceed with pouring the footer, which will happen later today.  They will be able to install the block for the foundation later this weekend or Monday.  After that, another inspection, then pouring the new slab.  

Monday, September 03, 2012

Garage Design

Tomorrow is groundbreaking for our garage!  I can't wait for it to be finished.  

Here is the framing, done in sketchup.

A few of the details:

  • 16' wide x 26' long x 14' tall, even though our lot is 20' wide.   
    • We wanted a 3'-6" pathway on the side to allow access to the backyard and english basement without needing to go through the garage. We currently don't rent out the basement, but the future home owner may want that option.  
    • Also, if the garage was on the property line, then the walls would need to be constructed differently to meet fire rating.  One wall is 3'-6" away, and the other is 0'-6" away from the property line.  
    • Accessory structures in our zone cannot be taller than 15', so I wasn't able to add a small room above the garage.  
  • The garage matches the style of our house, with a slate gable roof in the front, low sloped roof in the back and parapets on the sides.    
  • Dormer window facing south for natural light.  
  • French doors facing the house for better aesthetics and also to allow easier access to the backyard with equipment, tools, furniture, etc...
  • Space in the back of the garage for a small workshop.  
  • Hardiplank cement siding which looks like wood siding, but last quite a bit longer.
  • Rain barrel on the back side for our future herb garden.  
  • 50A electrical service from the house to power a few tools, lights, kegerator, TV, and other mancave accessories.    

I am contracting out the excavation, foundation, and slab, and plan on doing the framing, doors and windows, and siding myself (with some help from friends of course).

As a responsible resident, I did get permits for all of the work.  I only needed a structural engineer to stamp the structural and architectural drawings, and I was able to do the electrical, environmental, and plat layout drawings myself.  I'll need to have a licensed electrician do the electrical, as the city won't accept my electrical engineering degree as justification for allowing me to do the work.  It's probably safer that way.

Getting the permit was a pain though.  I didn't know the homeowner's center could handle large projects like garages until a month after I submitted the drawings.  I also didn't know the homeowner's center was a separate office in the DCRA.  I thought it was all the same, and that the home owner went through some special flow in the permitting process.  I didn't know what it actually was.  The DCRA failed to mention this to me the several times I was in there asking for advice before I actually submitted for the permit.  Because of this, my permit took almost 2 months, instead of 2 weeks.  I'll definitely use them for other future projects, and advise all DC homeowners to try there first.  I blame it on naivety on my side, and miscommunication on both sides.  Having gone through the process, I'll know next time, but I don't like that the only reason I know the correct process is because I had problems with it the first time.

To help address this, it would be nice if the first question the person behind the DCRA service desk should ask is, "Are you the homeowner?  If so, please try our homeowner's center (back there) which will help you through the permitting process.  If not, here's your number.  Next!"  ;-)

From various DC blogs, I see that a  lot of people don't know about the homeowner's center, so it doesn't seem to be advertised as well as it could be.  It wasn't clear to me, and I spent a lot of time on the DCRA website before I even went to their office.  Maybe it's just me, but if more than a few people have the same issue, then it's most likely a systematic issue.  (Yes, I do speak engineer from time to time.)  That's just my two cents...

    Wednesday, March 14, 2012

    Screened in deck with party lights


    Our back deck was simple, and not screened in, so I made it more complicated by adding a design to the railings and screened it in, with cat proof screening.  I added party lights and fans on both levels, along with hammocks upstairs to allow for a little R&R.